a {
text-decoration: none;
color: #464feb;
}
tr th, tr td {
border: 1px solid #e6e6e6;
}
tr th {
background-color: #f5f5f5;
}
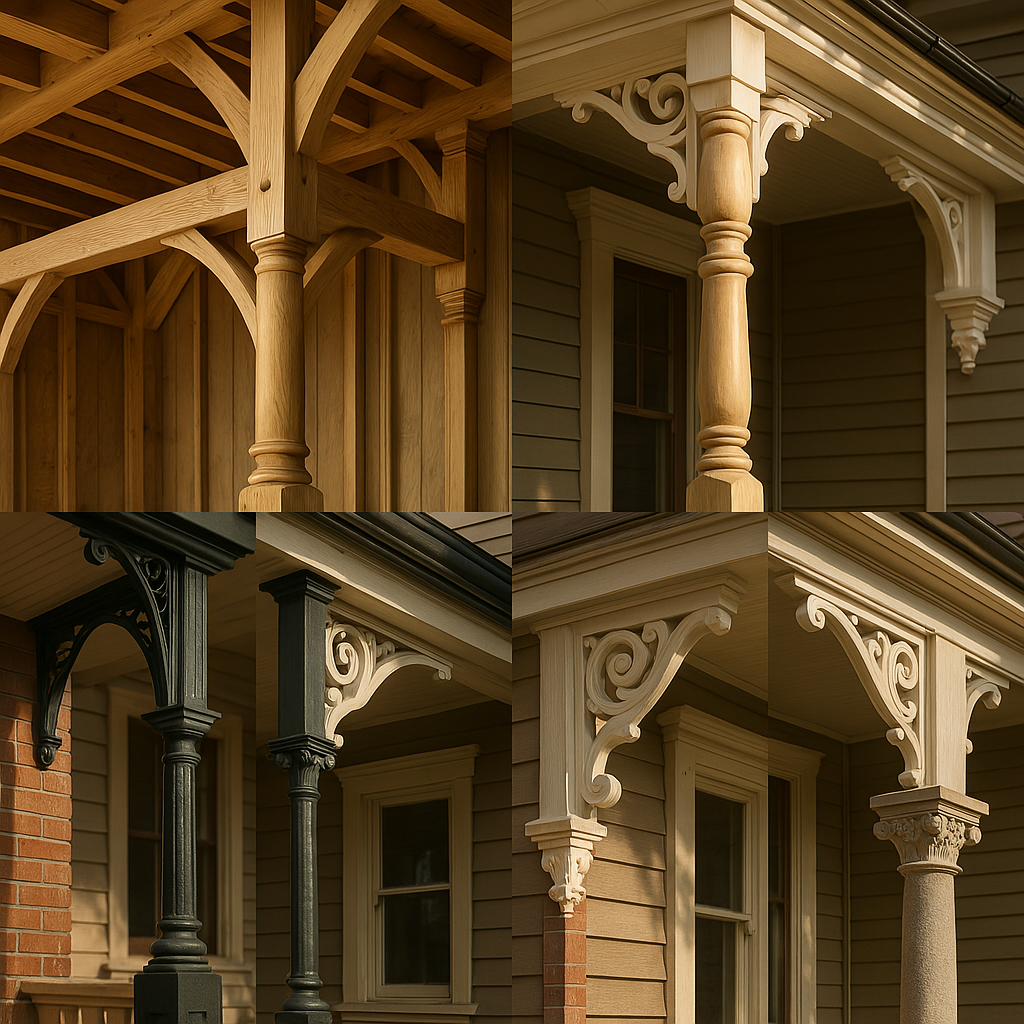
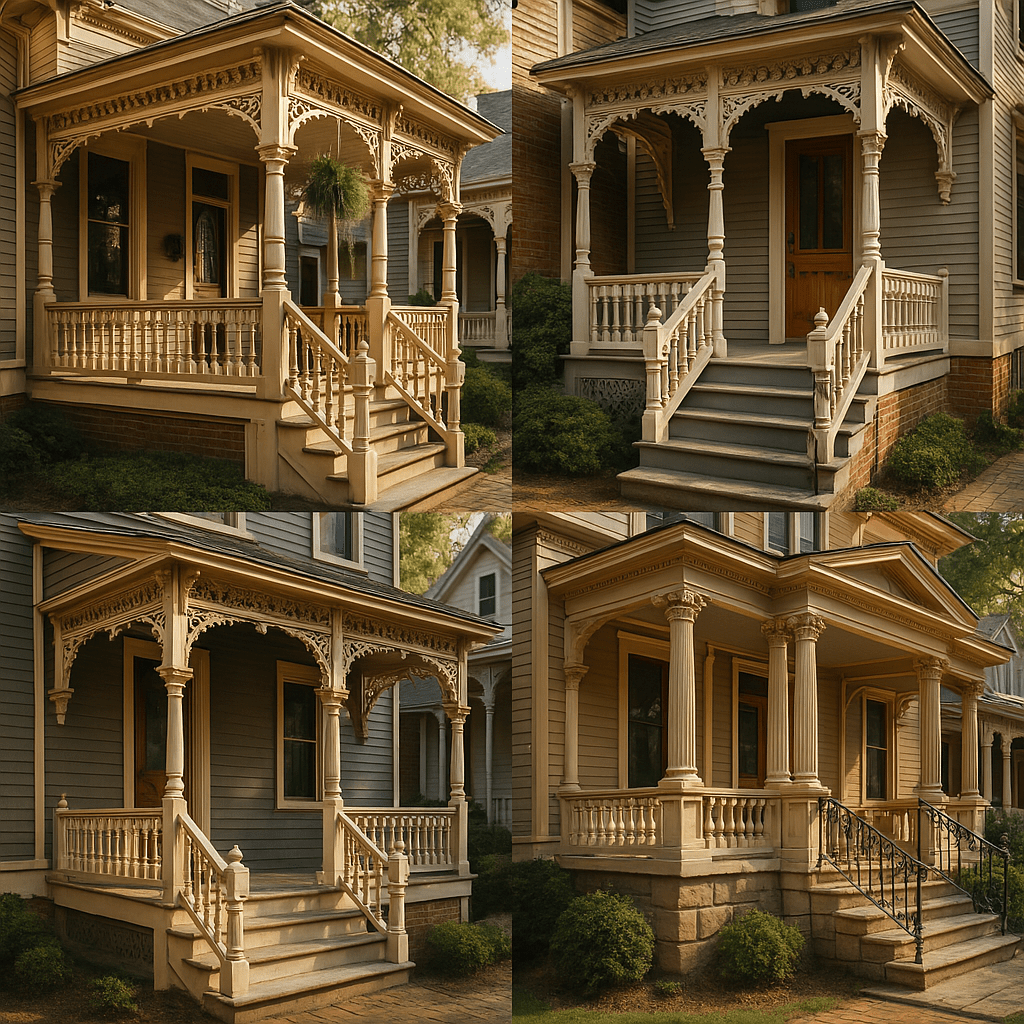
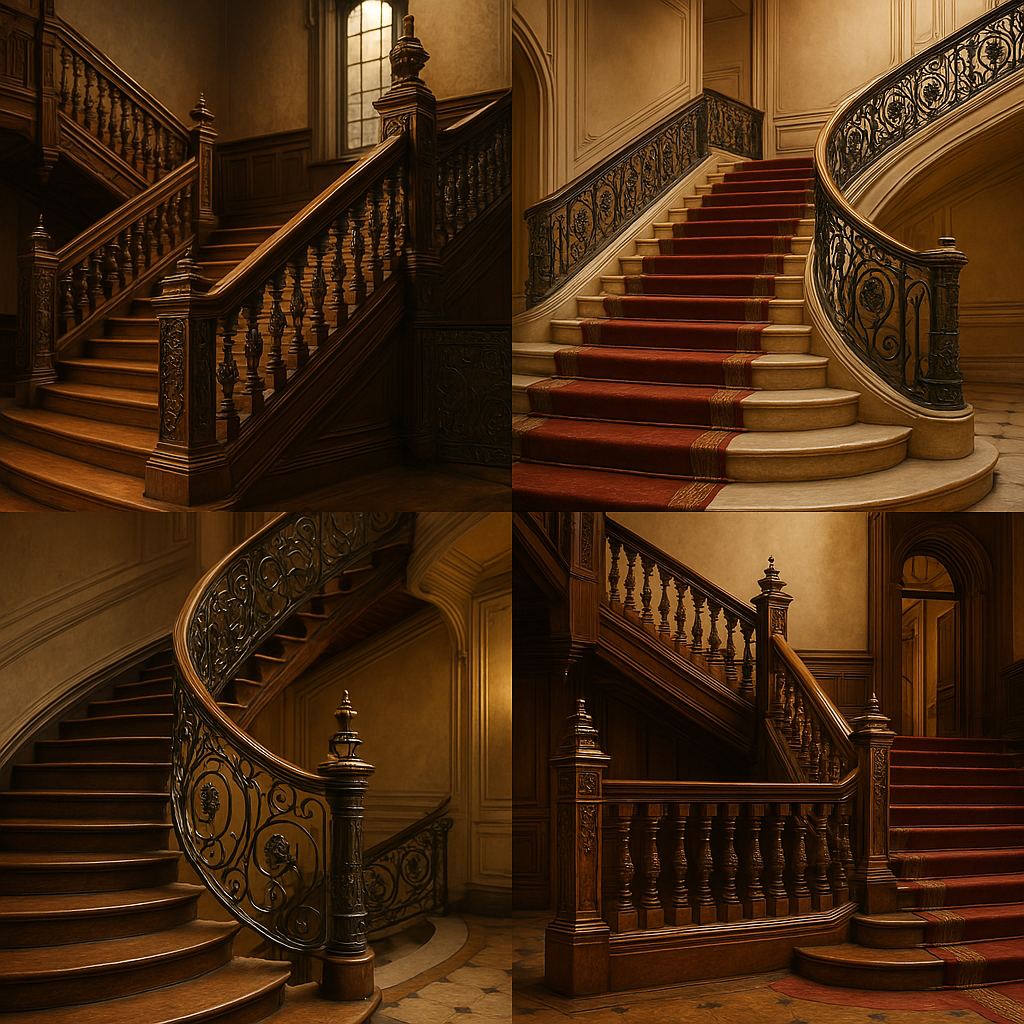
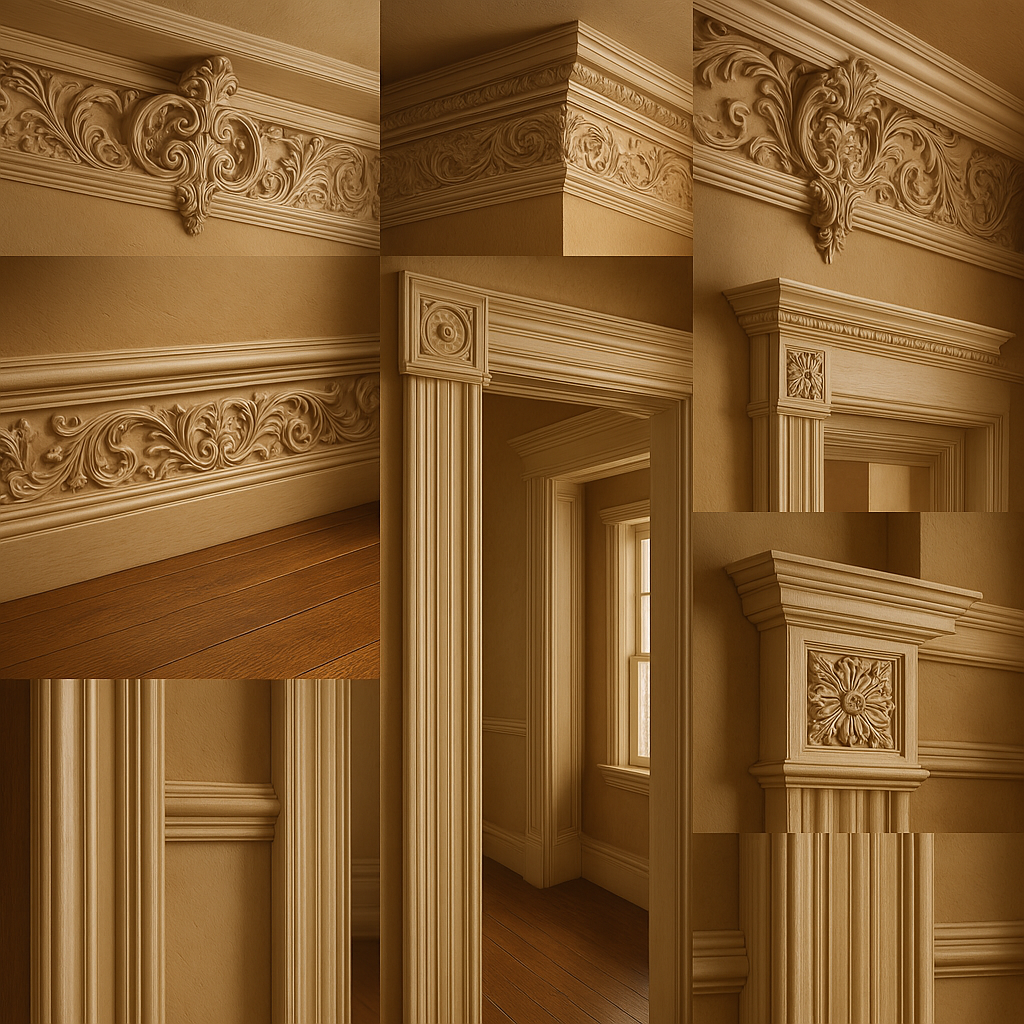
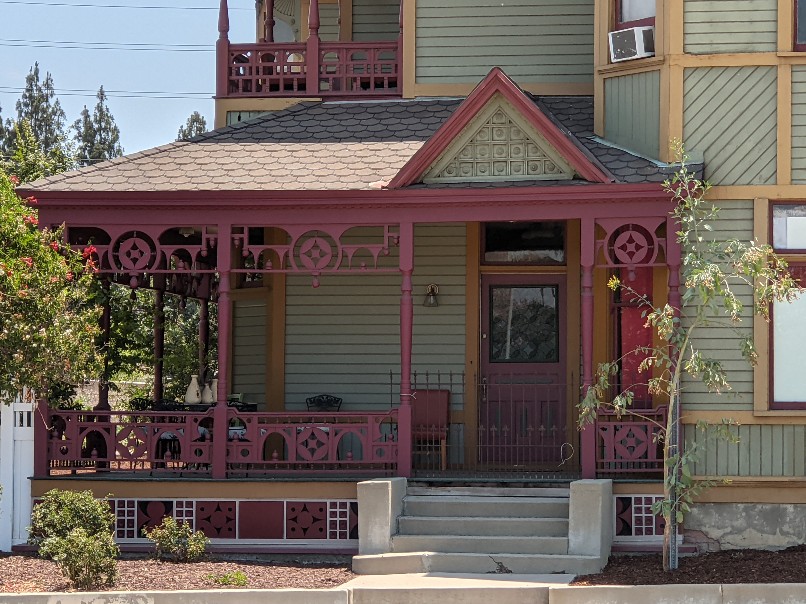
Expert Eastlake Victorian restoration by Artisan Historic Contracting. We revive intricate woodwork, spindle details, ornate trim, and period-correct finishes to preserve authentic 19th-century elegance.
Review service information, restoration considerations, and project options beforerequesting an assessment.
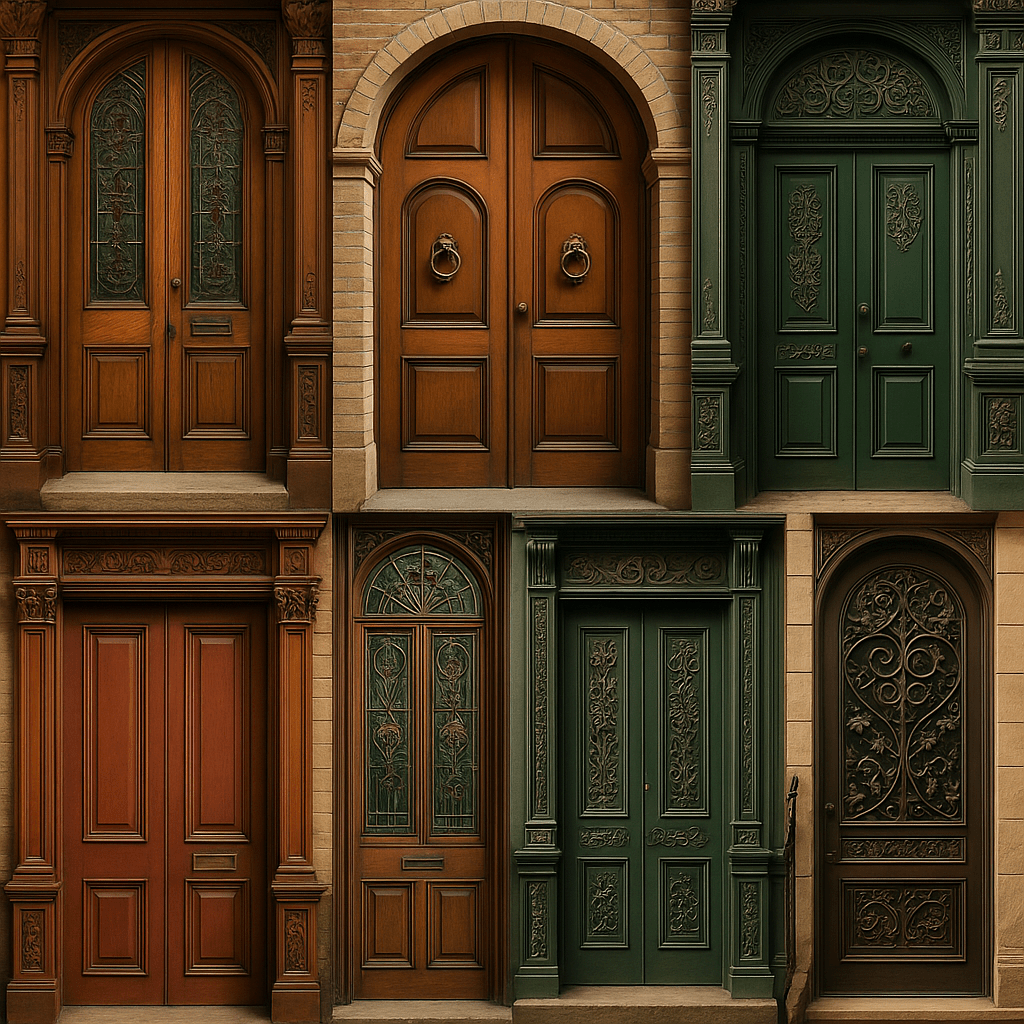
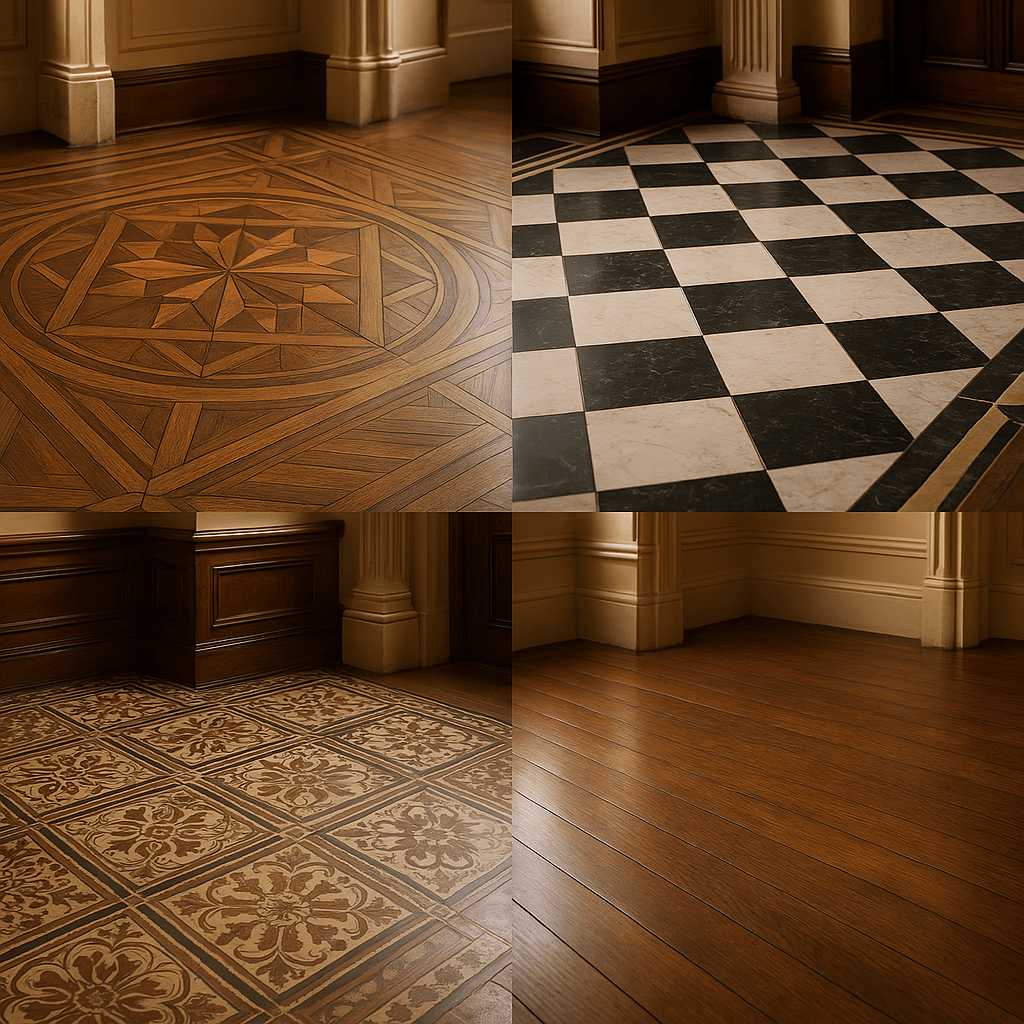
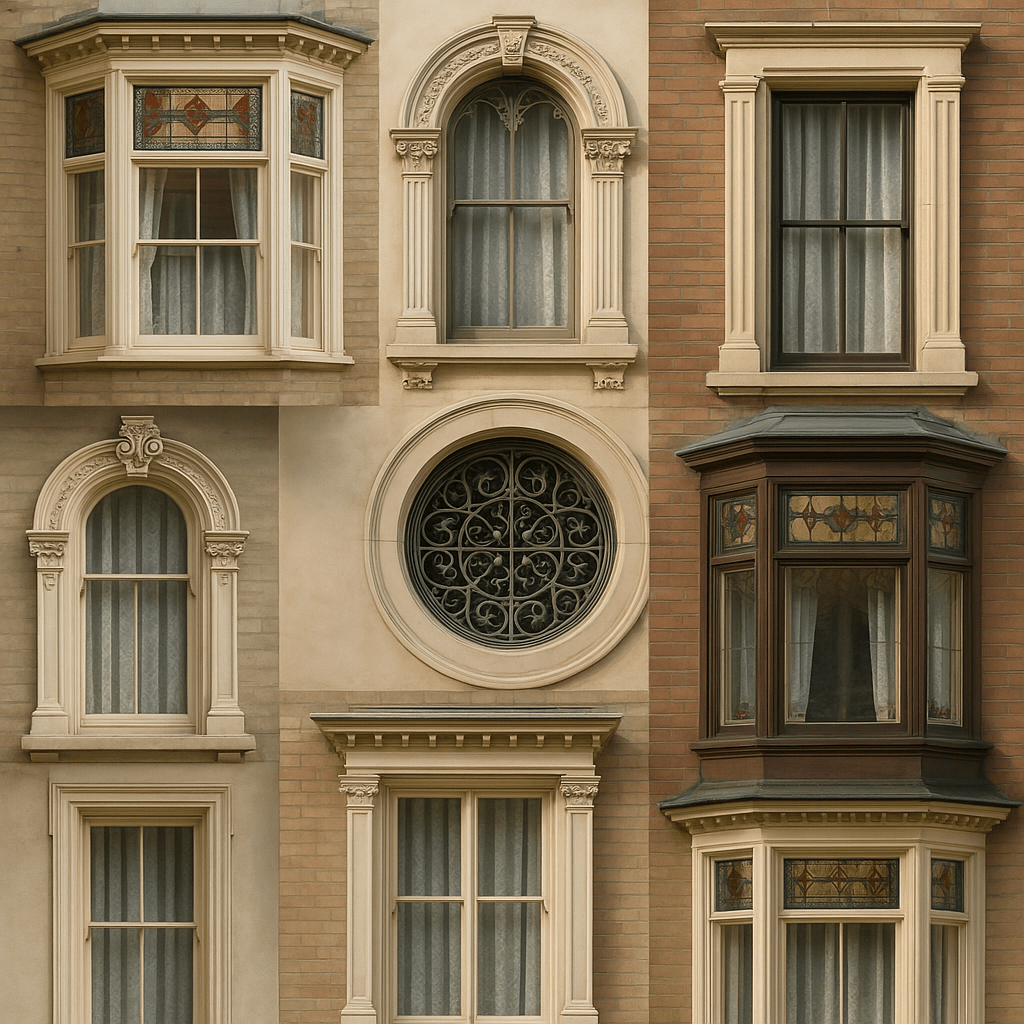
Request a Project AssessmentArtisan Historic Contracting approaches historic restoration with a simple philosophy: preserve what can be preserved and respect the craftsmanship that gave the property its character. Historic doors, windows, floors, stairs, porches, siding, trim, and molding are more than building materials; together they tell the story of the home. AHC focuses on restoration, repair, and preservation using an understanding of traditional construction, historic materials, and architectural details. Whether your property is Victorian, Craftsman, Mission Revival, Spanish Colonial Revival, Tudor Revival, Classical Revival, Norman Revival, or Colonial Revival, the objective is to understand what exists before deciding what should be repaired, restored, or rehabilitated. Review the information here, explore the Related Services below, and choose the building components that need professional attention.
A successful historic restoration project begins by identifying the property, the building components involved, and the conditions that need attention. AHC's Service Center is designed to help a new client move from an initial concern toward the appropriate professional restoration pathway. Start by reviewing the information provided here, then use Related Services to identify the specific building components involved in your project. A property may need one service or several related services, such as doors, windows, floors, stairs, porches, siding, trim, or molding. The next step is a Project Assessment so the property, affected components, and existing conditions can be documented and the appropriate direction established. This creates an organized path from the first inquiry through project evaluation rather than asking the client to determine the technical solution before professional review.
Historic restoration pricing should help a client understand the work rather than reduce a complex historic property to a single number. AHC keeps pricing information visible as an education and qualification tool, with the labor structure connected to the level of service being considered. Repair, Restoration, and Rehabilitation represent different levels of project involvement, and the appropriate pathway depends on the building component and actual conditions being addressed. Historic properties may also involve original wood, glass, metal, masonry, plaster, traditional finishes, and other materials that require appropriate restoration planning. Before evaluating final project cost, the client should understand what needs attention and what level of work may be appropriate. Review the applicable Related Services below, identify the areas involved, and use the Project Assessment process to move the project toward an appropriate scope.